
Turntable Setup — Precision Matters
What looks simple on the surface is a chain of interdependent variables — each one affecting the others. Here's what it takes to get it right.
Start Level, Stay Level
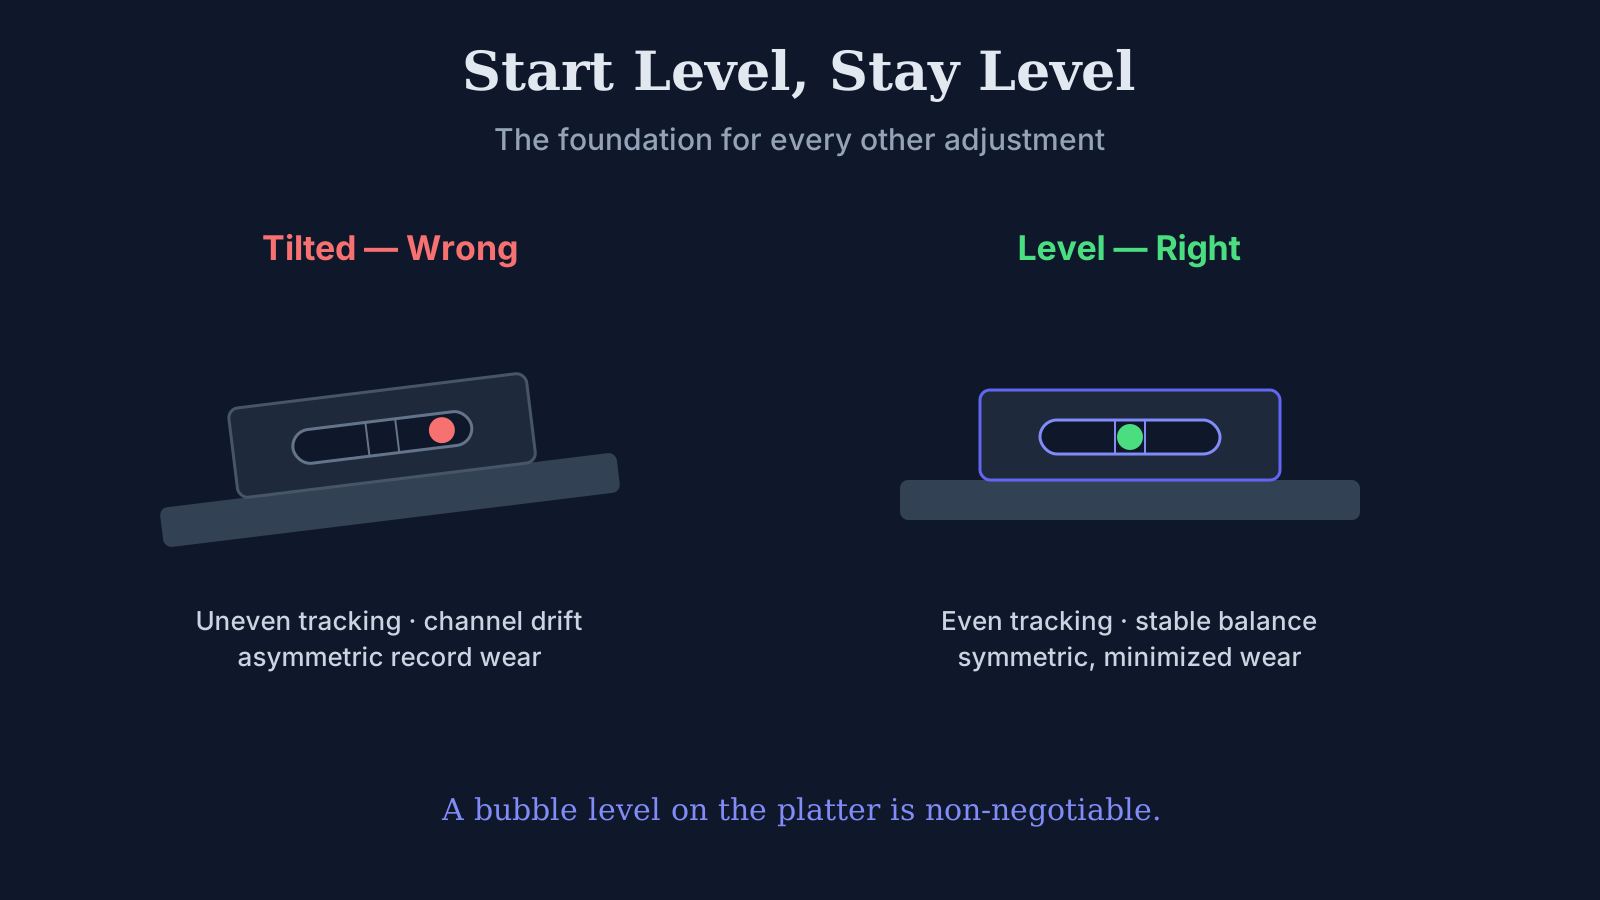
Before touching a single adjustment, the turntable must be absolutely level. Not "close enough" — absolutely. A bubble level on the platter surface is non-negotiable. If the table is even slightly tilted, every parameter you set downstream will be compromised. The stylus will track unevenly, channel balance will drift, and wear patterns on your records will become asymmetric. Level is the foundation. Everything else builds on it.
Vertical Tracking Force (VTF)
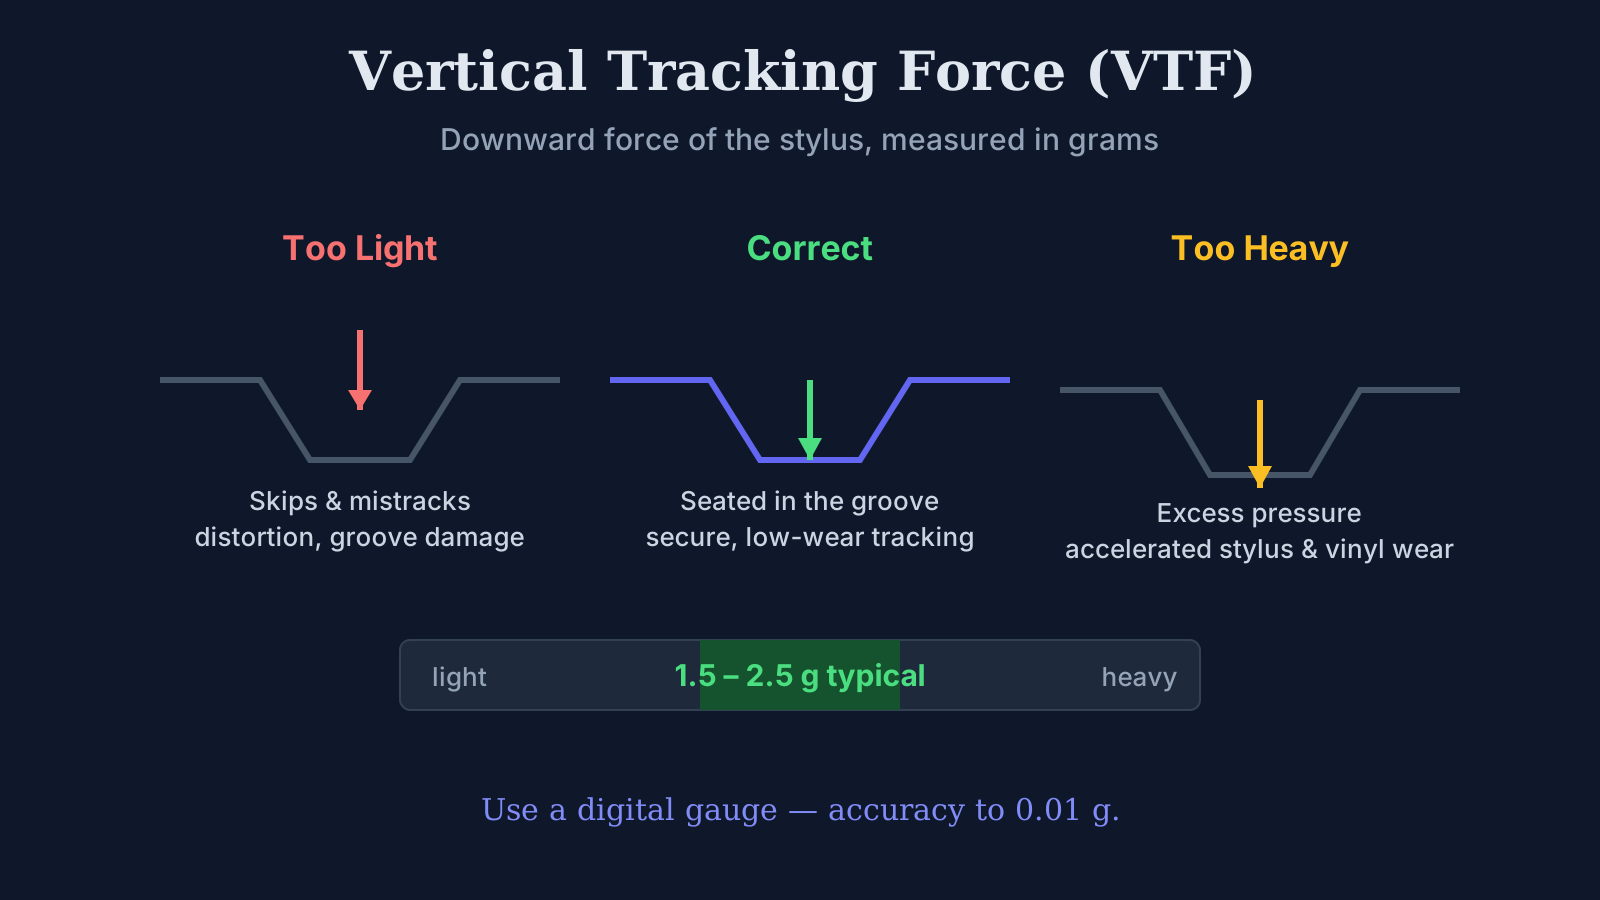
VTF is the downward force the stylus exerts on the record groove, measured in grams. Every cartridge has a manufacturer-specified range — typically between 1.5 and 2.5 grams for modern moving-magnet and moving-coil designs. Too light, and the stylus skips or mistracts, causing distortion and groove damage. Too heavy, and you accelerate wear on both the stylus and the vinyl. A digital stylus force gauge is essential here — the built-in counterweight markings on most tonearms are approximations at best. You want accuracy to within 0.01 grams. Set it, verify it, and verify it again after any other adjustment, because everything in this chain is interconnected.
Vertical Tracking Angle (VTA) and Stylus Rake Angle (SRA)
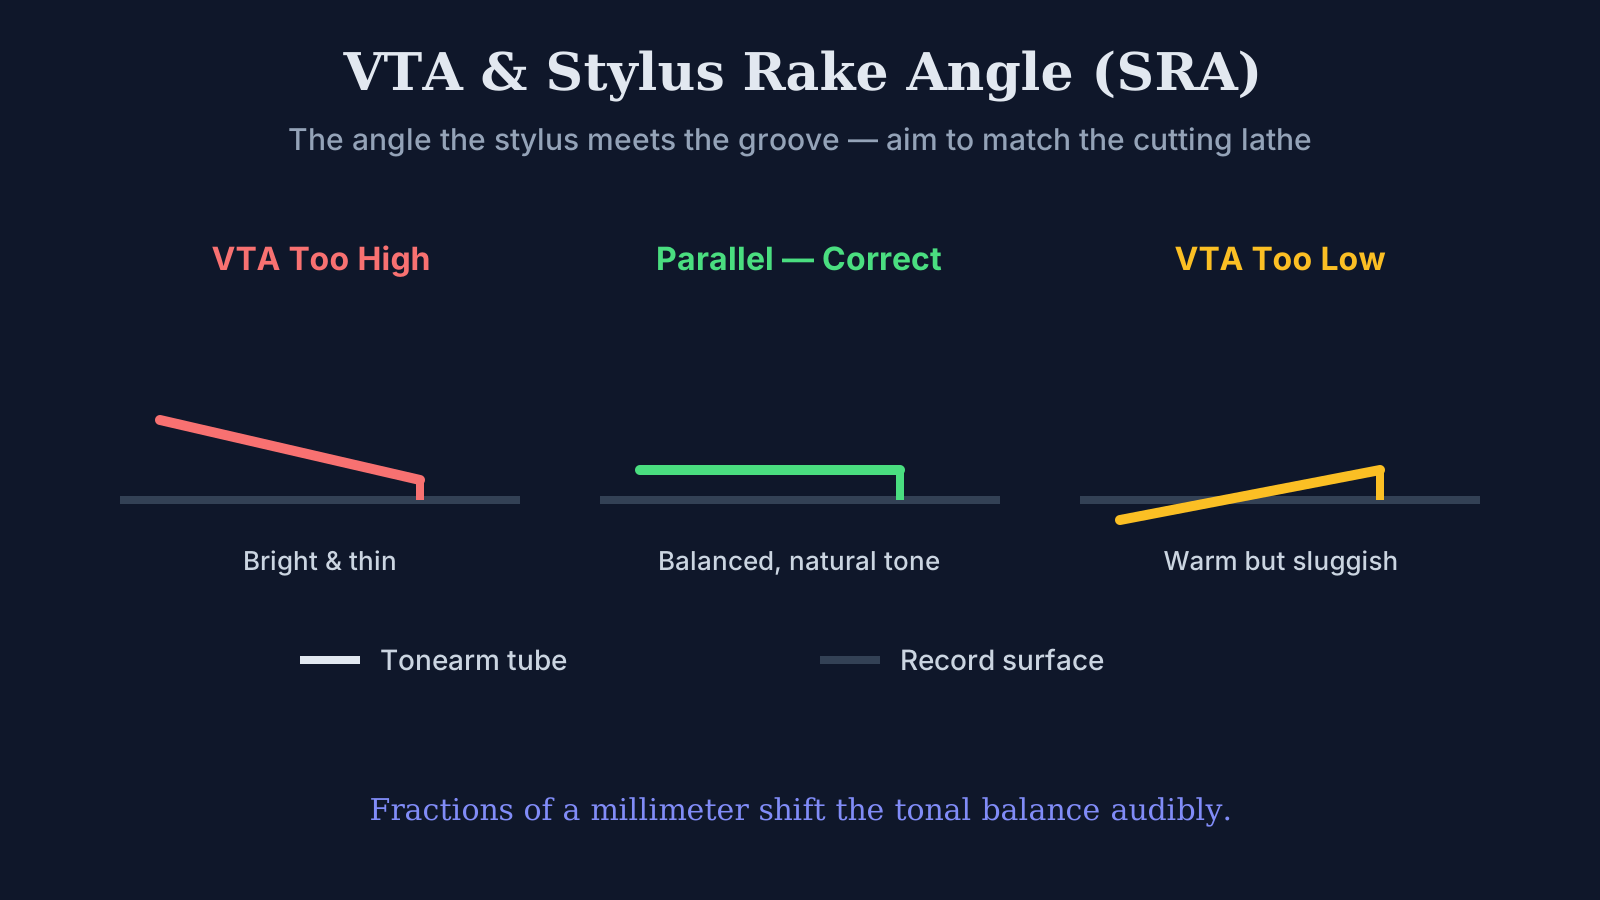
VTA is the angle of the tonearm relative to the record surface. SRA is the angle of the stylus contact edges relative to the groove wall. They are related but not identical — VTA is what you adjust mechanically, and SRA is the result you are trying to achieve. The goal is for the stylus to sit in the groove at the same angle it was cut by the lathe. For most cartridges, this means the tonearm should be roughly parallel to the record surface when the stylus is in the groove, though the precise angle depends on stylus geometry.
Adjusting VTA typically involves raising or lowering the tonearm pillar. Small changes — fractions of a millimeter — shift the tonal balance audibly. Too high, and the sound tilts bright and thin. Too low, and it becomes warm but sluggish. This is where a jeweler's loupe becomes invaluable: you can visually inspect SRA by examining the stylus contact point from the side at magnification. What you are looking for is the stylus shaft sitting perpendicular — or very close to it — relative to the groove.
Azimuth
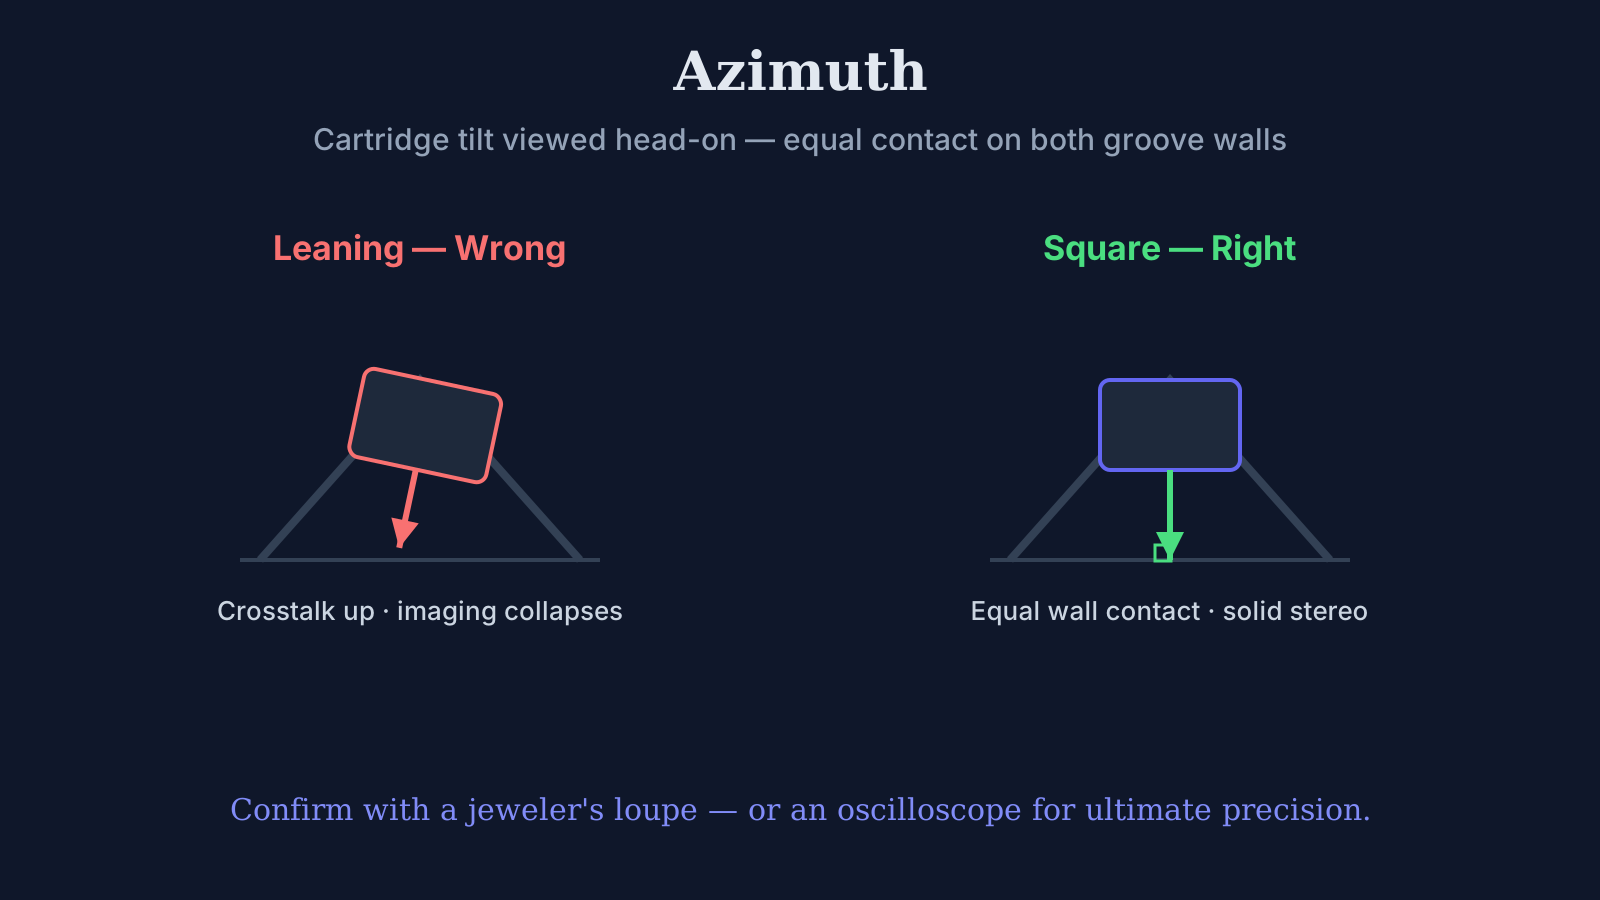
Azimuth is the tilt of the cartridge body when viewed head-on. A perfectly set azimuth means the stylus sits squarely in the groove with equal contact on both channel walls. If the cartridge leans to one side, channel separation degrades, crosstalk increases, and stereo imaging collapses. On tonearms that allow azimuth adjustment, you rotate the headshell or arm tube until the cartridge body is perpendicular to the record surface. Again, a jeweler's loupe helps confirm this visually, though some setups benefit from an oscilloscope or test record with dedicated azimuth tracks for ultimate precision.
Cartridge Alignment Geometry
Because a pivoted tonearm traces an arc across the record rather than a straight line, the cartridge can only achieve perfect tangency to the groove at specific points on the record surface. Alignment protractors — Baerwald, Löfgren, Stevenson — define where those null points fall. Each geometry makes different tradeoffs between inner-groove distortion and tracking error distribution across the record.

Setting alignment requires a protractor (printed or mirrored), a steady hand, and patience. You loosen the cartridge mounting screws just enough to allow movement, then slide and rotate the cartridge body until the cantilever aligns precisely with the grid lines at both null points. A jeweler's lens is critical here — you are working at a scale where a half-millimeter error translates into audible distortion on inner grooves. Tighten the screws gradually and evenly, then recheck. The cartridge will shift as you torque the screws. Recheck again.
Anti-Skate
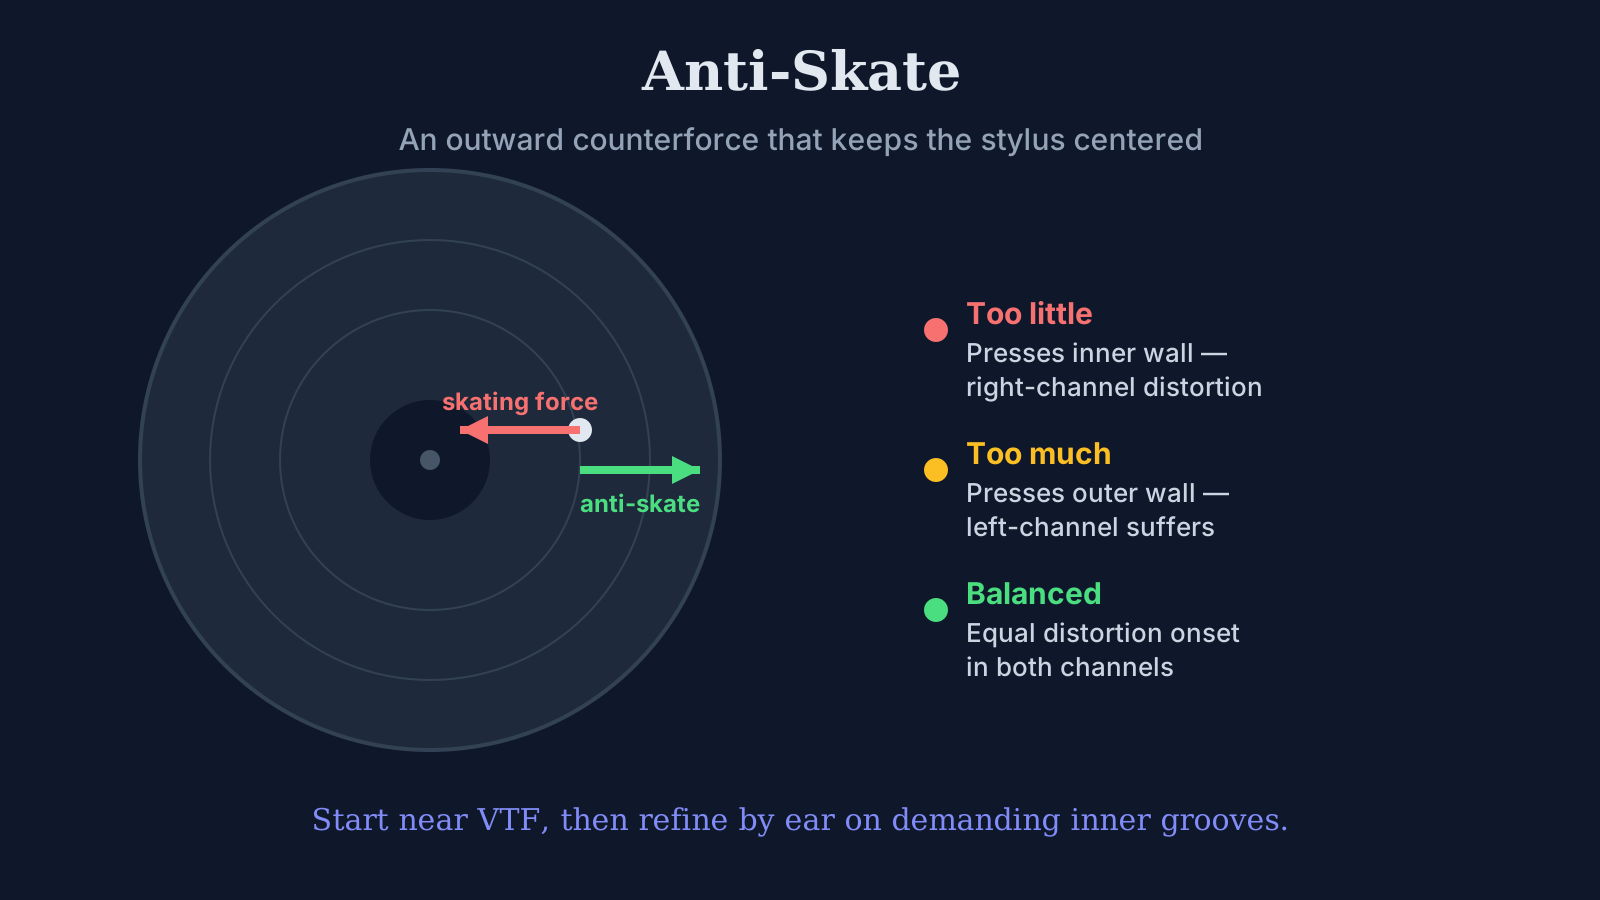
As the tonearm tracks inward across the record, the geometry of the pivot creates a natural inward skating force. Anti-skate applies an outward counterforce to keep the stylus centered in the groove. Too little anti-skate, and the stylus presses harder on the inner groove wall — right channel distortion increases. Too much, and it presses harder on the outer wall — left channel suffers.
The conventional starting point is to set anti-skate equal to VTF, but this is only a rough approximation. In practice, the correct setting depends on groove modulation, stylus geometry, and the specific arm. A blank (ungrooved) test record or a high-level test tone can help dial it in precisely, but many experienced listeners ultimately set it by ear — listening for equal distortion onset in both channels on demanding inner-groove passages.
Overhang and Offset Angle
Overhang is the distance the stylus tip extends past the tonearm pivot-to-spindle line. It works in conjunction with the headshell offset angle to minimize tracking error. These parameters are set during cartridge alignment — they are what you are adjusting when you slide the cartridge forward or back in the headshell slots. Get overhang wrong, and no amount of angular alignment at the null points will compensate. The protractor accounts for this, but only if you are measuring from the correct reference point. Read the instructions for your specific protractor carefully. They are not all used the same way.
The Interdependence Problem
Here is what makes turntable setup genuinely difficult: every parameter affects every other parameter. Adjust VTF and you change VTA slightly because the cantilever compliance shifts under different loads. Adjust VTA and you may need to revisit alignment because the stylus tip position moves. Change alignment and you should recheck azimuth because the cartridge body rotated. Dial in anti-skate and the effective tracking force at the groove changes marginally.
What may seem easy at first — it is just a few screws and a counterweight, after all — reveals itself as an iterative process. You converge on the correct setup through successive refinement: adjust, verify, adjust again. A steady hand is not optional. You are manipulating a cantilever and diamond tip worth hundreds or thousands of dollars, suspended fractions of a millimeter above an irreplaceable record surface. Rush it and you will either damage something or settle for compromised playback that you convinced yourself sounds "fine."
The Tools You Need
At minimum: a digital stylus force gauge accurate to 0.01g, a jeweler's loupe (10x or higher), a quality alignment protractor appropriate to your tonearm geometry, a bubble level, and good lighting. Optional but helpful: a test record with anti-skate and channel balance tracks, a USB microscope for SRA inspection, and a set of hex drivers that fit your headshell screws without slipping. The total investment in tools is modest compared to the cartridge and records they protect — and compared to the sonic improvement a properly dialed-in setup delivers over a casual one.
Why It Matters
These are not arbitrary settings. They are not audiophile obsessions disconnected from audible reality. Once all parameters are correctly dialed in — VTF, VTA, SRA, azimuth, alignment, anti-skate — the results are immediately apparent. The soundstage blooms: width, depth, and dimensionality emerge in ways that a misaligned cartridge simply cannot reproduce. Instrument separation becomes more defined — you hear individual players occupying distinct positions in the mix rather than a flattened wall of sound. Cymbal decay extends naturally, shimmering and fading with realistic air rather than truncating into gritty distortion. And vocal sibilance — that harsh, spitting quality on "s" and "t" sounds — is mitigated dramatically. When sibilance persists despite a properly set up table, you are hearing the pressing itself, not your equipment. A substandard pressing will reveal its limitations regardless of how meticulously you have aligned your cartridge. But a good pressing on a properly configured turntable is a revelatory experience.
A turntable that is correctly set up retrieves more information from the groove, tracks more securely through dynamic passages, images more precisely in the stereo field, and causes less wear to your records over time. The difference between a casually mounted cartridge and a meticulously aligned one is not subtle. It is the difference between listening to a record and hearing everything that was pressed into it. The precision matters.
And once dialed in, a quality vinyl pressing — especially one sourced from original master tapes or from an analog source, generally pre-1986 before the advent of the CD influenced how masters were prepared — will yield three-dimensional results that a flat two-dimensional CD output simply cannot replicate. There is a depth and spatial presence to analog playback done correctly that digital, for all its convenience and silence, has never fully captured. The instruments breathe in a room. The vocals exist in a physical space between the speakers. It is not nostalgia. It is physics — and it only reveals itself when the setup is right.
Keep Reading
Diagnosing Vinyl Problems — A Complete Guide
A hub linking every article on vinyl playback issues: sibilance, inner-groove distortion, turntable setup, cartridge loading, and pressing quality.
Vinyl Pressing Quality in 2026 — Warps and Plants to Avoid
Why are new records warped or noisy? Learn how vinyl pressing defects occur, which plants deliver strong quality control, and which deserve caution in 2026.
Why Do Different Vinyl Pressings Sound Different? Mastering, Matrix Numbers & Pressing Plants Explained
Two records can contain the same album and still sound conspicuously different. Learn why mastering, lacquer cutting, metalwork, and pressing plants all leave an audible fingerprint on vinyl.
Vinyl vs. Streaming: Which Sounds Better on a Serious System?
On a serious system, it becomes a contest between two complete reproduction chains. Neither format always wins. The decisive variable is which master you are hearing — and what happens to it before it reaches the loudspeakers.